What are snowball cookies?
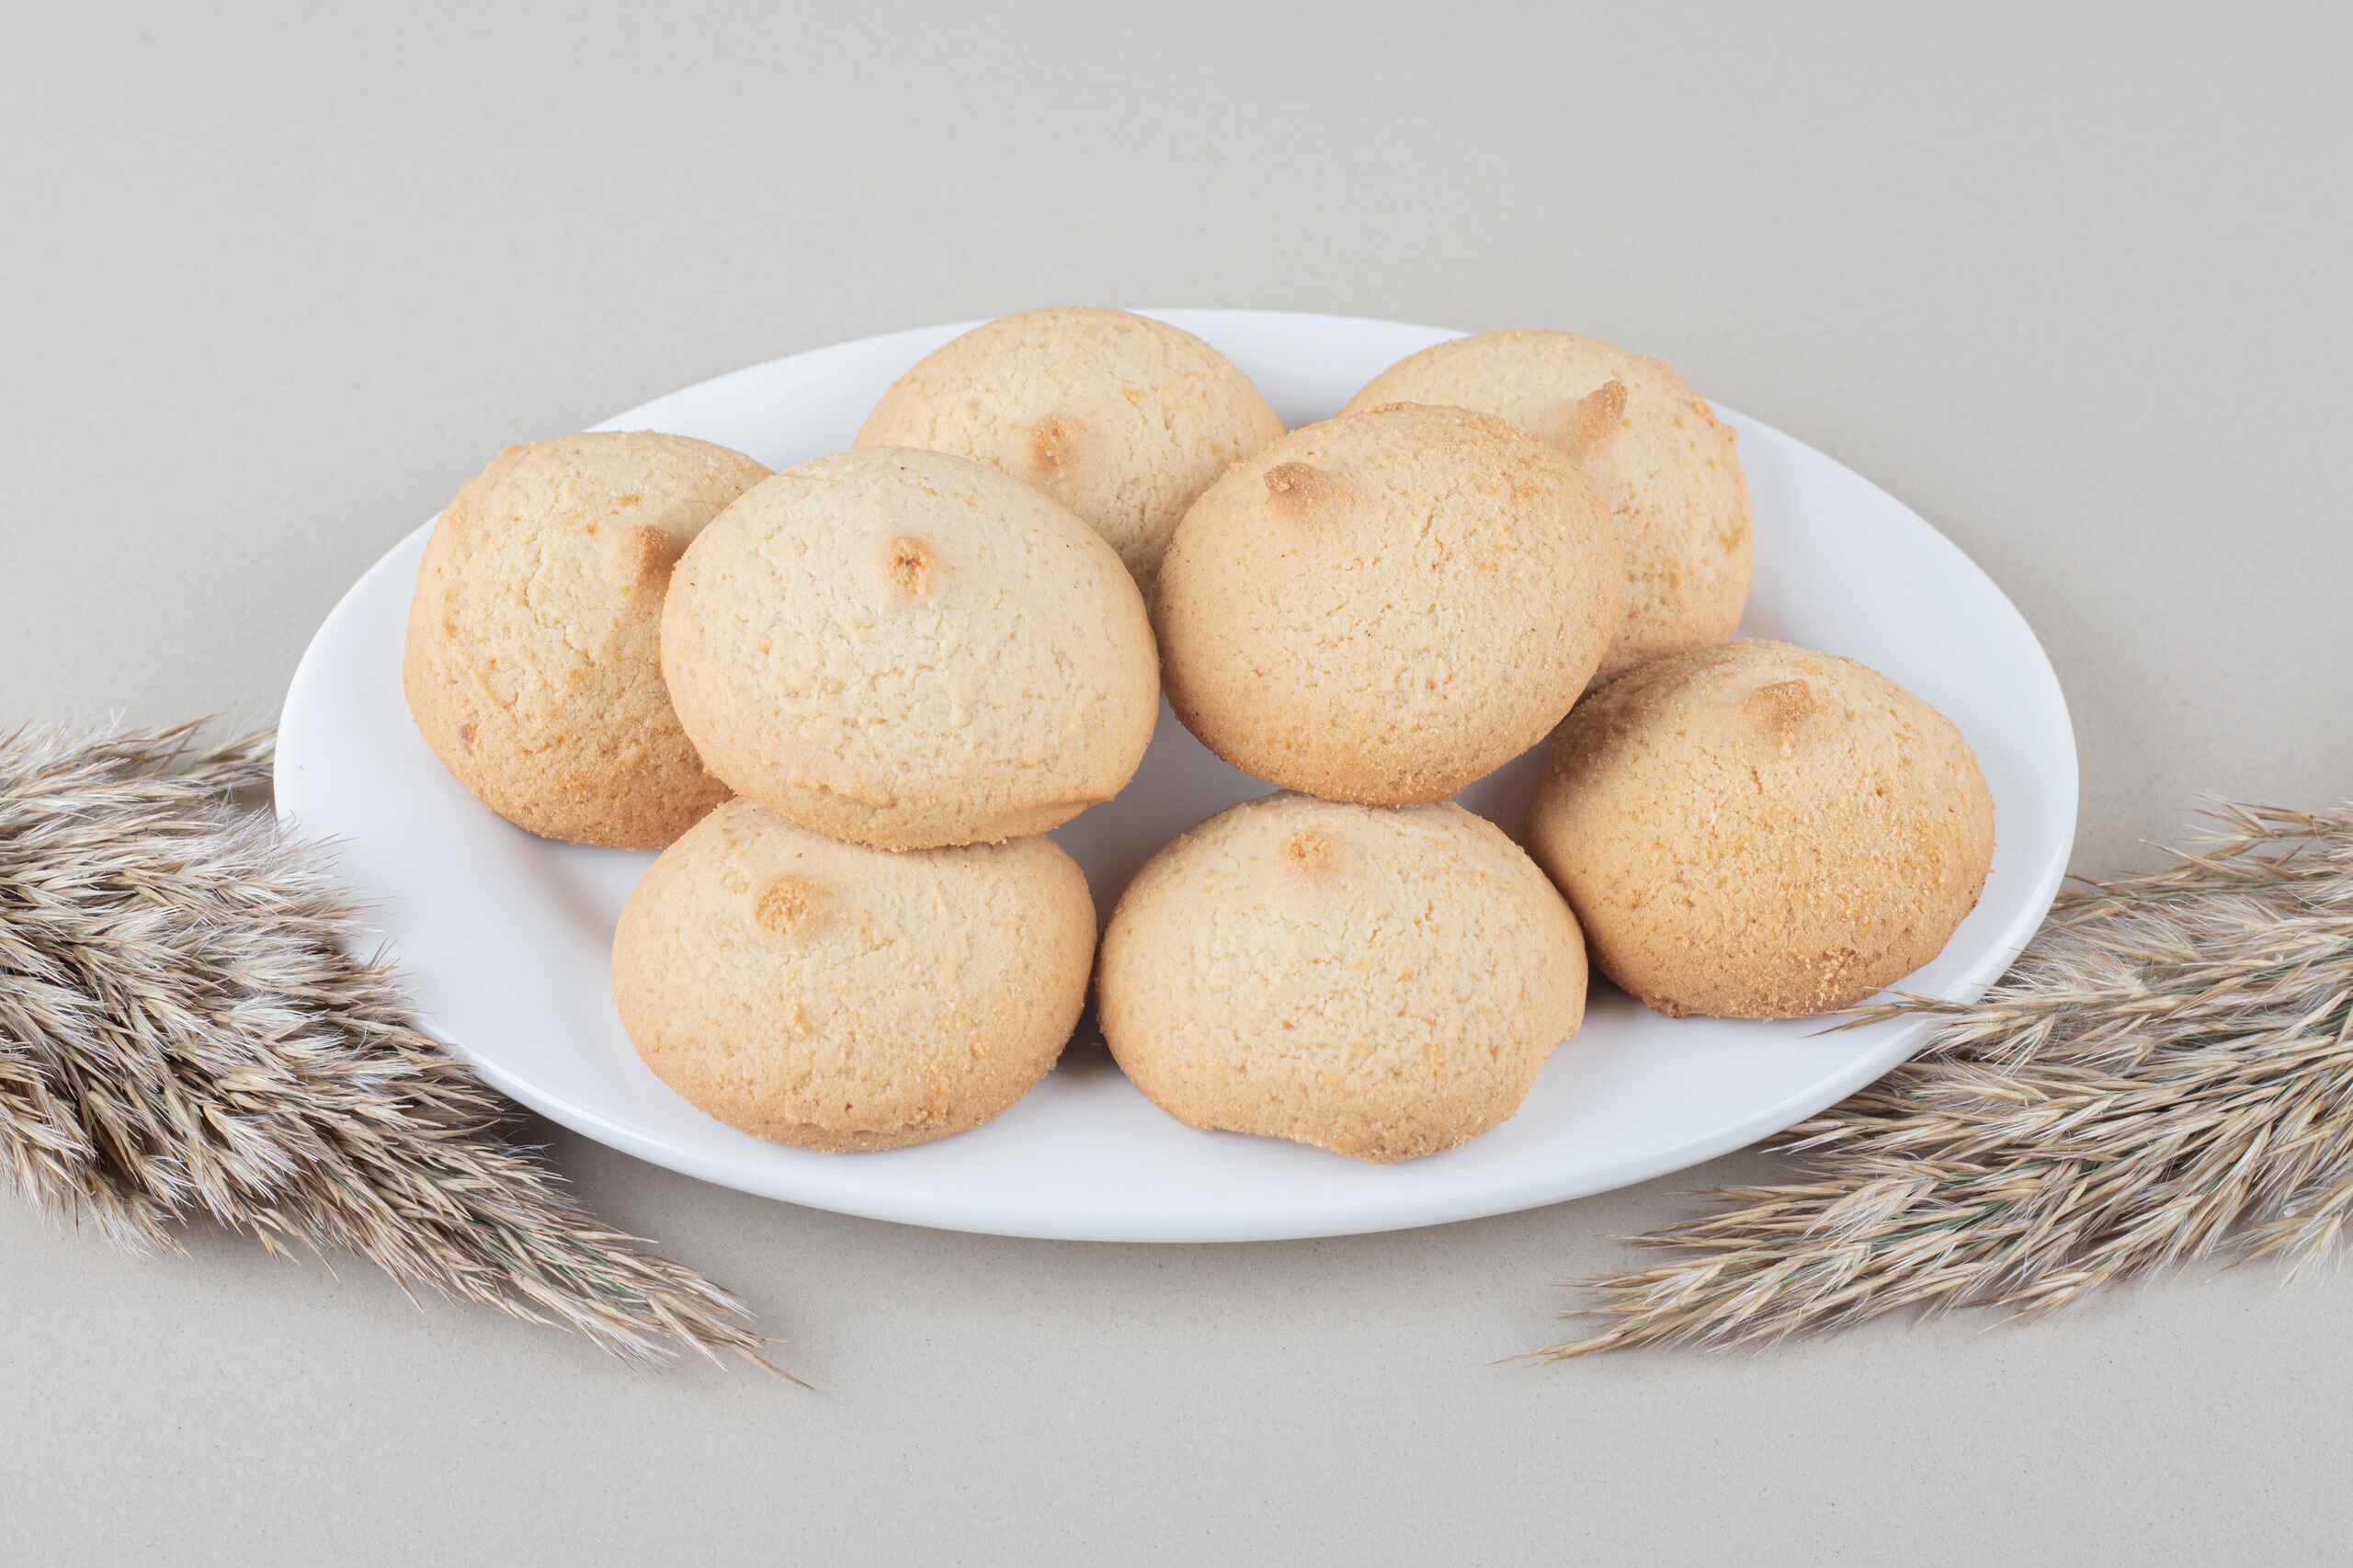
Snowball cookies are soft, buttery, round cookies that look like little snowballs because they’re covered in powdered sugar. Made with simple ingredients like butter, sugar, flour, and nuts, they’re rolled in powdered sugar after baking, making them sweet and melt-in-your-mouth delicious. These cookies are perfect for Christmas themes and holiday parties, adding a festive touch with their light, crumbly texture and snowy appearance. Everyone loves them during the holiday season!
About snowball cookies
Snowball cookies have been enjoyed for many years and are loved by people all over the world. These cookies are small, round, and covered in powdered sugar, making them look like little snowballs. They have a long history, with different countries having their own versions.
In Mexico, they’re called “Mexican Wedding Cookies,” and in Russia, they’re known as “Russian Tea Cakes.” No matter what they’re called, they all have something in common: they’re made with butter, sugar, flour, and nuts, and are rolled in powdered sugar after baking.
These cookies became popular in the United States through immigrants who brought their recipes with them. Over time, they’ve become a favorite treat during the holiday season, especially at Christmas. Snowball cookies are loved for their sweet, melt-in-your-mouth texture and their festive, snowy appearance, making them a perfect addition to any holiday celebration.
Melting Snowball Cookies: Soft, Sweet, and Super Easy to Bake!
Description
Snowball cookies are soft, buttery, round cookies that look like little snowballs because they’re covered in powdered sugar. Made with simple ingredients like butter, sugar, flour, and nuts, they’re rolled in powdered sugar after baking, making them sweet and melt-in-your-mouth delicious. These cookies are perfect for Christmas themes and holiday parties, adding a festive touch with their light, crumbly texture and snowy appearance. Everyone loves them during the holiday season!
Ingredients for Snowball Cookies
For the Topping
How to Make Snowball Cookies
Step 1: Prepare the Dry Ingredients
-
Sieve or whisk together the all-purpose flour (maida), cornflour, and salt. Keep this dry mixture aside.
Step 2: Cream the Butter and Sugar
-
In a separate bowl, add the room-temperature butter, powdered sugar, and vanilla essence. Beat the mixture until it reaches a creamy consistency.
Step 3: Combine Ingredients
-
Gradually add the whisked flour and cornflour mixture to the creamed butter and sugar. Mix well.
-
Add the finely chopped cashew nuts and walnuts, and gently mix until the dough comes together. Be careful not to knead too much. If the dough feels too dry and isn’t coming together, add a few drops of milk.
Step 4: Chill the Dough
-
Wrap the dough in plastic wrap and refrigerate it for 15-20 minutes to help it firm up a bit.
Step 5: Preheat the Oven
-
Preheat your oven to 177°C (350°F) for 10 minutes.
Step 6: Prepare the Baking Tray
-
Line a baking tray with butter paper. If you don't have butter paper, apply a thin layer of butter on the tray and dust it with flour to prevent the cookies from sticking.
Step 7: Shape the Cookies
-
Take a small pinch of dough, about the size of a marble, and roll it into a ball. Gently flatten it slightly; don’t make it too flat.
Step 8: Arrange and Bake
-
Place the shaped cookies on the prepared baking tray, leaving a little space between each one.
-
Bake the cookies in the preheated oven at 177°C (350°F) for 15-20 minutes, until the base of the cookies turns brown.
-
Note: Oven temperatures can vary, so keep an eye on your cookies after 15 minutes. Mine were perfectly baked in 15 minutes, but your time may differ. If you’re unsure about your OTG’s accuracy, consider using an oven thermometer to ensure the correct temperature.
Step 9: Dust with Icing Sugar
-
Remove the cookies from the tray and place them on a plate. Sieve icing sugar over the top of the cookies, or alternatively, you can roll the cookies in icing sugar. (I used a tea filter to dust the sugar.)
Step 10: Cool and Store
-
Allow the cookies to cool completely, then store them in an airtight container. They will stay fresh for 2-3 weeks.
-
Enjoy these melt-in-your-mouth cookies with a hot cup of tea!
Note
Expert Tips for Snowball Cookies
- Sugar Choices: You can use powdered sugar or icing sugar for making the cookies. Either works well.
- Topping Options: For topping the cookies, you can use either icing sugar or powdered sugar. Instead of dusting, you can also roll the cookies in the sugar for a more even coating.
- Timing for Topping: Make sure to dust or roll the cookies in sugar while they are still warm. This helps the sugar stick better to the cookies.
- Butter Choice: Always use unsalted butter for the best flavor in your cookies.
- Mixing the Dough: Don’t knead the dough. Mix it gently until it comes together.
- Refrigeration Time: Don’t refrigerate the dough for too long, or it will become too firm. If that happens, you’ll need to wait until it softens a bit before shaping the cookies.
- Adding Milk: If the dough is too dry, add a few drops of milk to help bring it together.
- Baking Check: The tops of the cookies won’t turn brown, so check the base of the cookies for doneness. The base should be light brown.
- Oven Timing: Oven times may vary, so start checking your cookies after 15 minutes. Adjust the time as needed based on your oven.
- Nuts for Crunch: Adding chopped nuts like cashews or walnuts gives the cookies a nice crunchy texture. You can use either one or a combination of both.
Serving Suggestions for Snowball Cookies
- With Hot Beverages: Serve these snowball cookies with a warm cup of tea, coffee, or hot chocolate. Their soft, buttery texture pairs perfectly with hot drinks.
- Holiday Treat: These cookies are ideal for holiday gatherings or Christmas parties. Arrange them on a festive platter for a delightful treat everyone will love.
- Gift Idea: Package the cookies in a decorative tin or jar and give them as a homemade gift. They make a thoughtful and delicious present for friends and family.
- Snack Time: Enjoy these cookies as an afternoon snack. They’re light and sweet, making them a perfect treat for a quick pick-me-up.
- With Ice Cream: Crumble the cookies over vanilla or chocolate ice cream for an extra sweet and crunchy dessert topping.
- Dessert Platter: Include these snowball cookies in a dessert platter along with other treats like brownies, cupcakes, and fruit for a variety of flavors and textures.
Storage Instructions
- Cool Completely: Allow the cookies to cool completely before storing to prevent them from becoming soggy.
- Airtight Container: Store the cookies in an airtight container to maintain their freshness and prevent them from absorbing moisture.
- Room Temperature: Keep the container at room temperature. The cookies will stay fresh for up to 2 weeks.

